Daffaizan.Website

Categories
Project IT

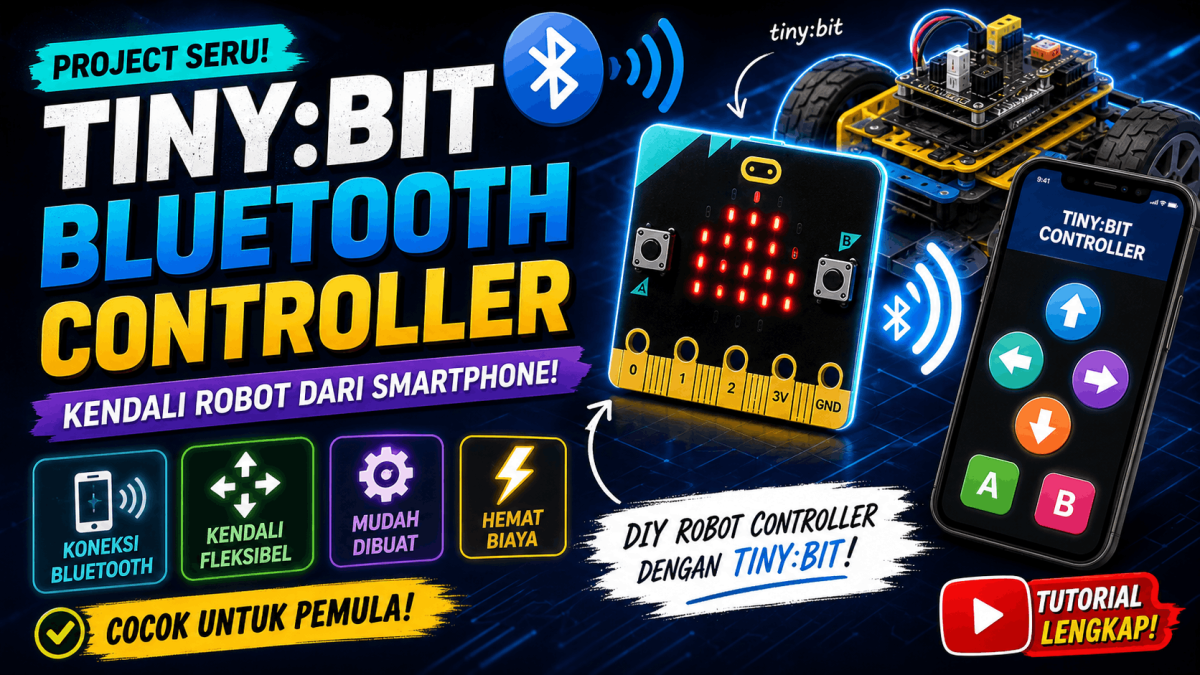
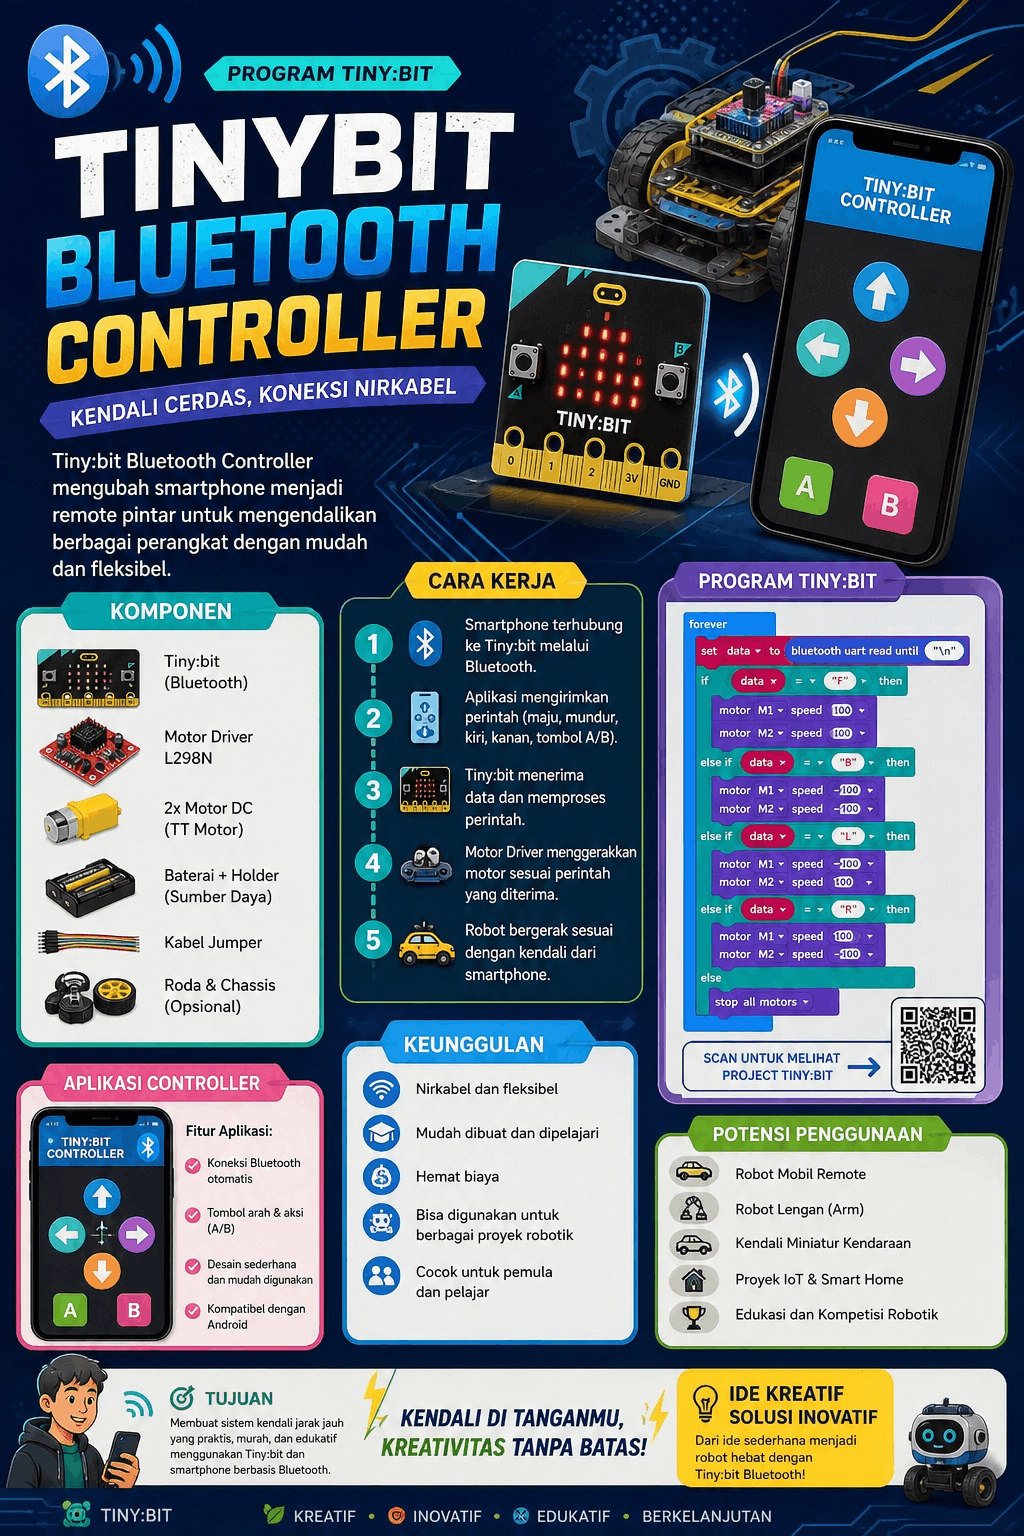
IOT: Tiny:bit Bluetooth Controller

IOT: Tiny:bit Bluetooth Controller

This video features a group of students introducing and explaining a simple robotics project. At the beginning, the main subject—a small, vehicle-shaped robot—is shown. Several students then appear together to discuss the project, with one student explaining the details while showcasing the robot and its components.Next, the video provides a closer look at the robot, highlighting its wheels, chassis, wiring, and internal electronic components. A laptop is also shown, displaying the robot’s circuitry or electronic system; the students explain how the components interconnect and function to operate the robot.Towards the end, the students once again display the robot in person while elaborating on the project they created. The video concludes with the three students appearing together. Overall, the video documents and presents the student-made robotics project, focusing on the robot’s design, electronic components, circuitry, and operational mechanics.
Categories
Project IT

Multimedia: Poster Infografis

Multimedia: Poster Infografis

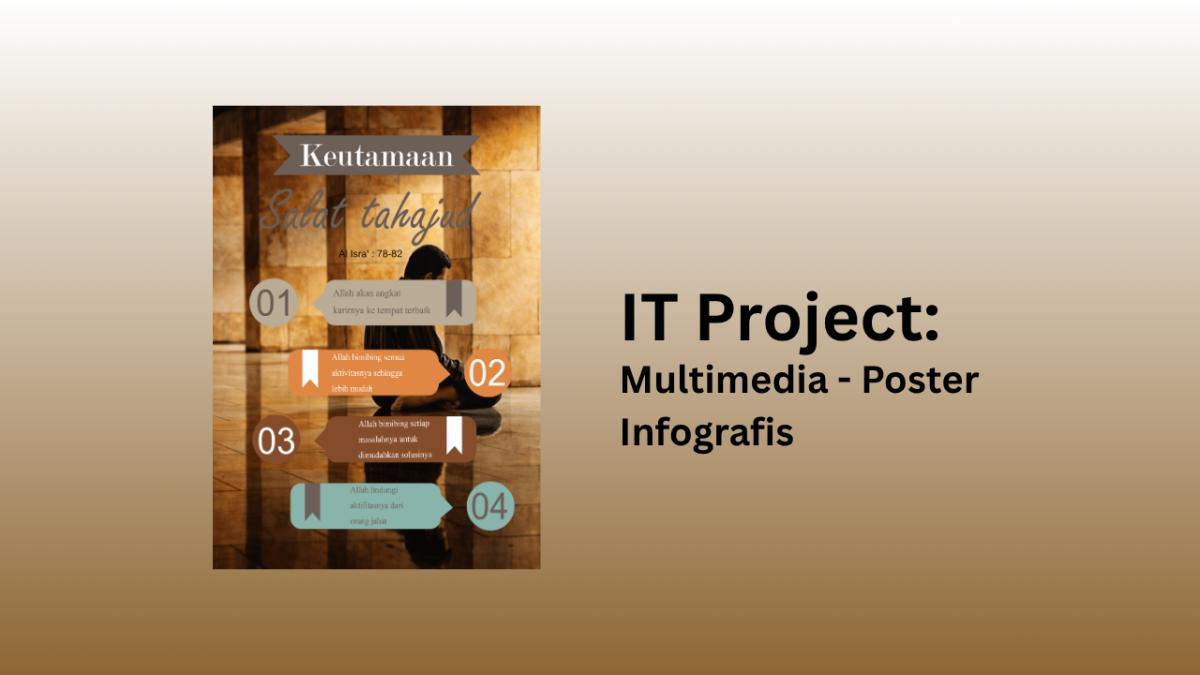
In creating this poster, I used Affinity Designer as the main software. Affinity provides a flexible workspace with different personas that allow me to combine vector design, pixel editing, and layout adjustments in one project. This made it easier to manage the creative process from start to finish without switching between multiple applications.To design the poster, I applied several tools inside Affinity. I used the Shape Tool to build the basic layout, the Fill Tool to add gradients and color transitions, and the Text Tool to place the main title and supporting text. Additionally, I experimented with the Transparency Tool to create smooth blending effects and the FX Panel to add shadows and highlights that made the design more dynamic.Overall, the process of making this poster was not too difficult, but it required patience and attention to detail. Learning how each tool works took some practice, especially when combining gradients and effects. However, once I understood the functions, the workflow became enjoyable and gave me a sense of accomplishment. Using Affinity Designer made the task manageable and rewarding.

Categories
Project IT

Multimedia: Poster Desain

Multimedia: Poster Desain

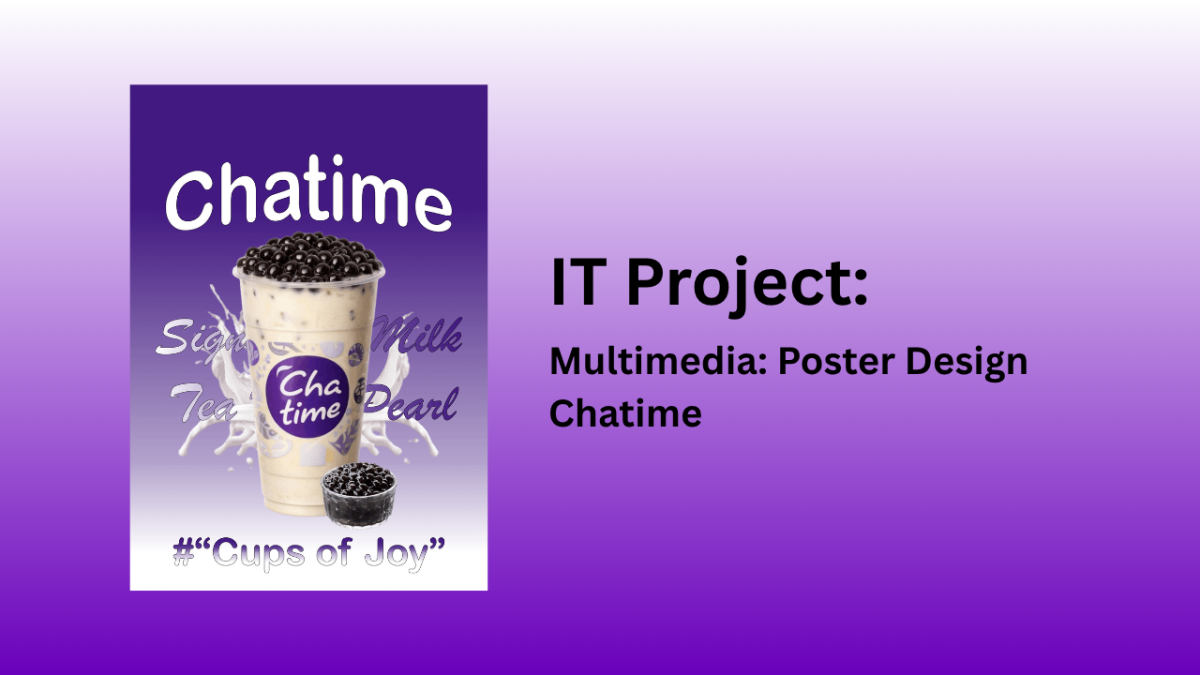
I created this poster using Affinity Designer, which provided a flexible workspace for combining images, text, and gradients. The background was built with a gradient fill tool to achieve the smooth transition from dark purple to light purple, reflecting Chatime’s signature brand colors. The main focus of the design is the large cup of milk tea with pearls, accompanied by a smaller container of tapioca pearls, both arranged to highlight the product visually.

To achieve the dynamic look, I used several tools in Affinity. The Fill Tool was applied to create the gradient background, while the Pen Tool and Shape Tool helped in adjusting layout elements and decorative splashes. The Text Tool was used to insert the Chatime logo, product name, and tagline “Cups of Joy.” Additionally, the Layer Effects panel allowed me to add subtle shadows and highlights, giving depth to the cup and pearls.

The overall impression of making this poster was very enjoyable. It felt creative and rewarding to see how simple elements like gradients, splashes, and bold typography could come together into a vibrant promotional design. The process gave me a sense of satisfaction, especially when the purple tones and milk splash effects blended harmoniously with the product image. It truly captured the lively and joyful spirit that Chatime wants to convey through its branding.

Categories
Project IT

Multimedia: Ilustrasi Project

Multimedia: Ilustration Project

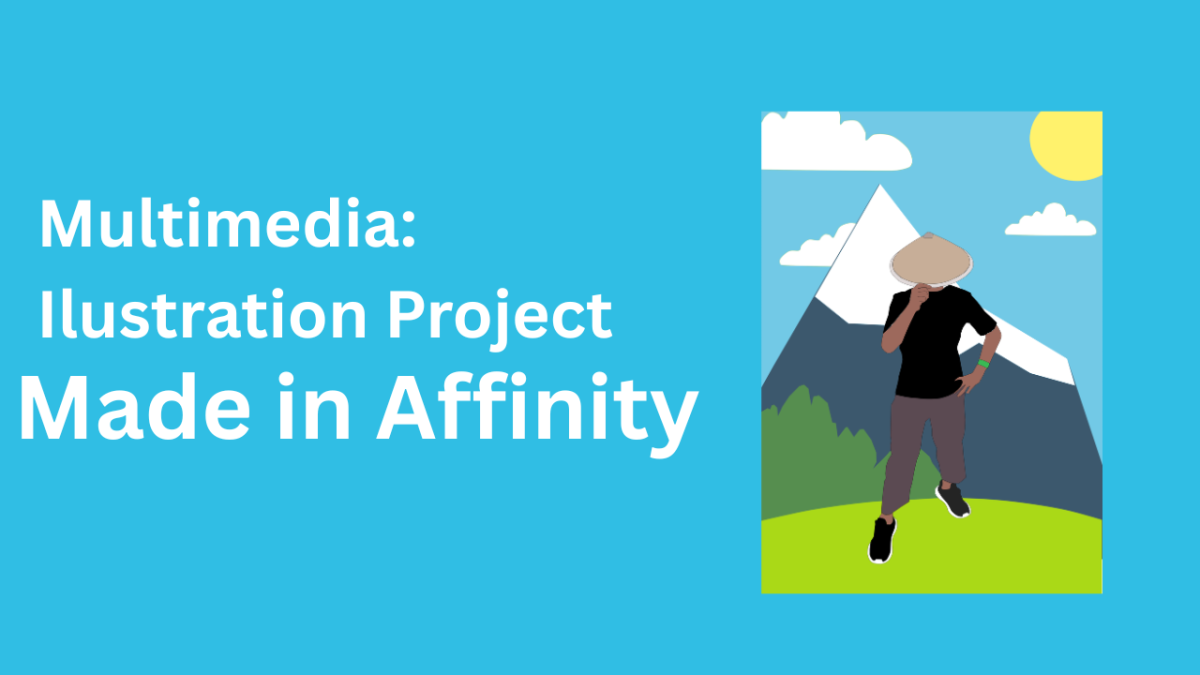
This illustration was created using Affinity Designer, a vector-based graphic design application. The creation process involved tracing a reference photo with the Pen Tool, followed by coloring each element—such as the figures, mountains, clouds, sun, and trees—according to the desired concept, resulting in a polished, high-quality illustration.

This illustration employs a balanced composition, with the main figure positioned in the center as the focal point. The background—featuring mountains, clouds, the sun, and trees—creates a sense of depth, while the blend of bright colors generates a contrast that makes the illustration more visually appealing.

Creating this illustration involves a moderate level of difficulty, as it requires precision in shaping, coloring, and arranging each element to ensure a proportional and harmonious look. With an understanding of the fundamentals of Affinity Designer, one can produce high-quality illustrations of this kind.

Categories
Project IT

Smart Parking

Smart Parking

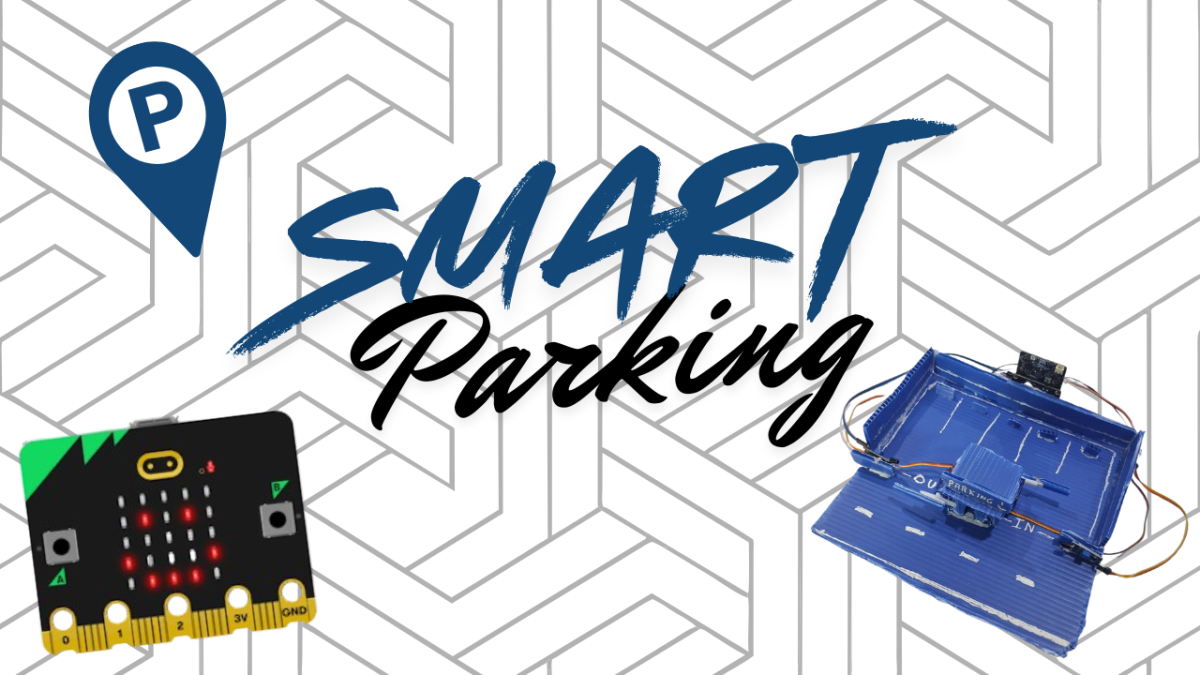
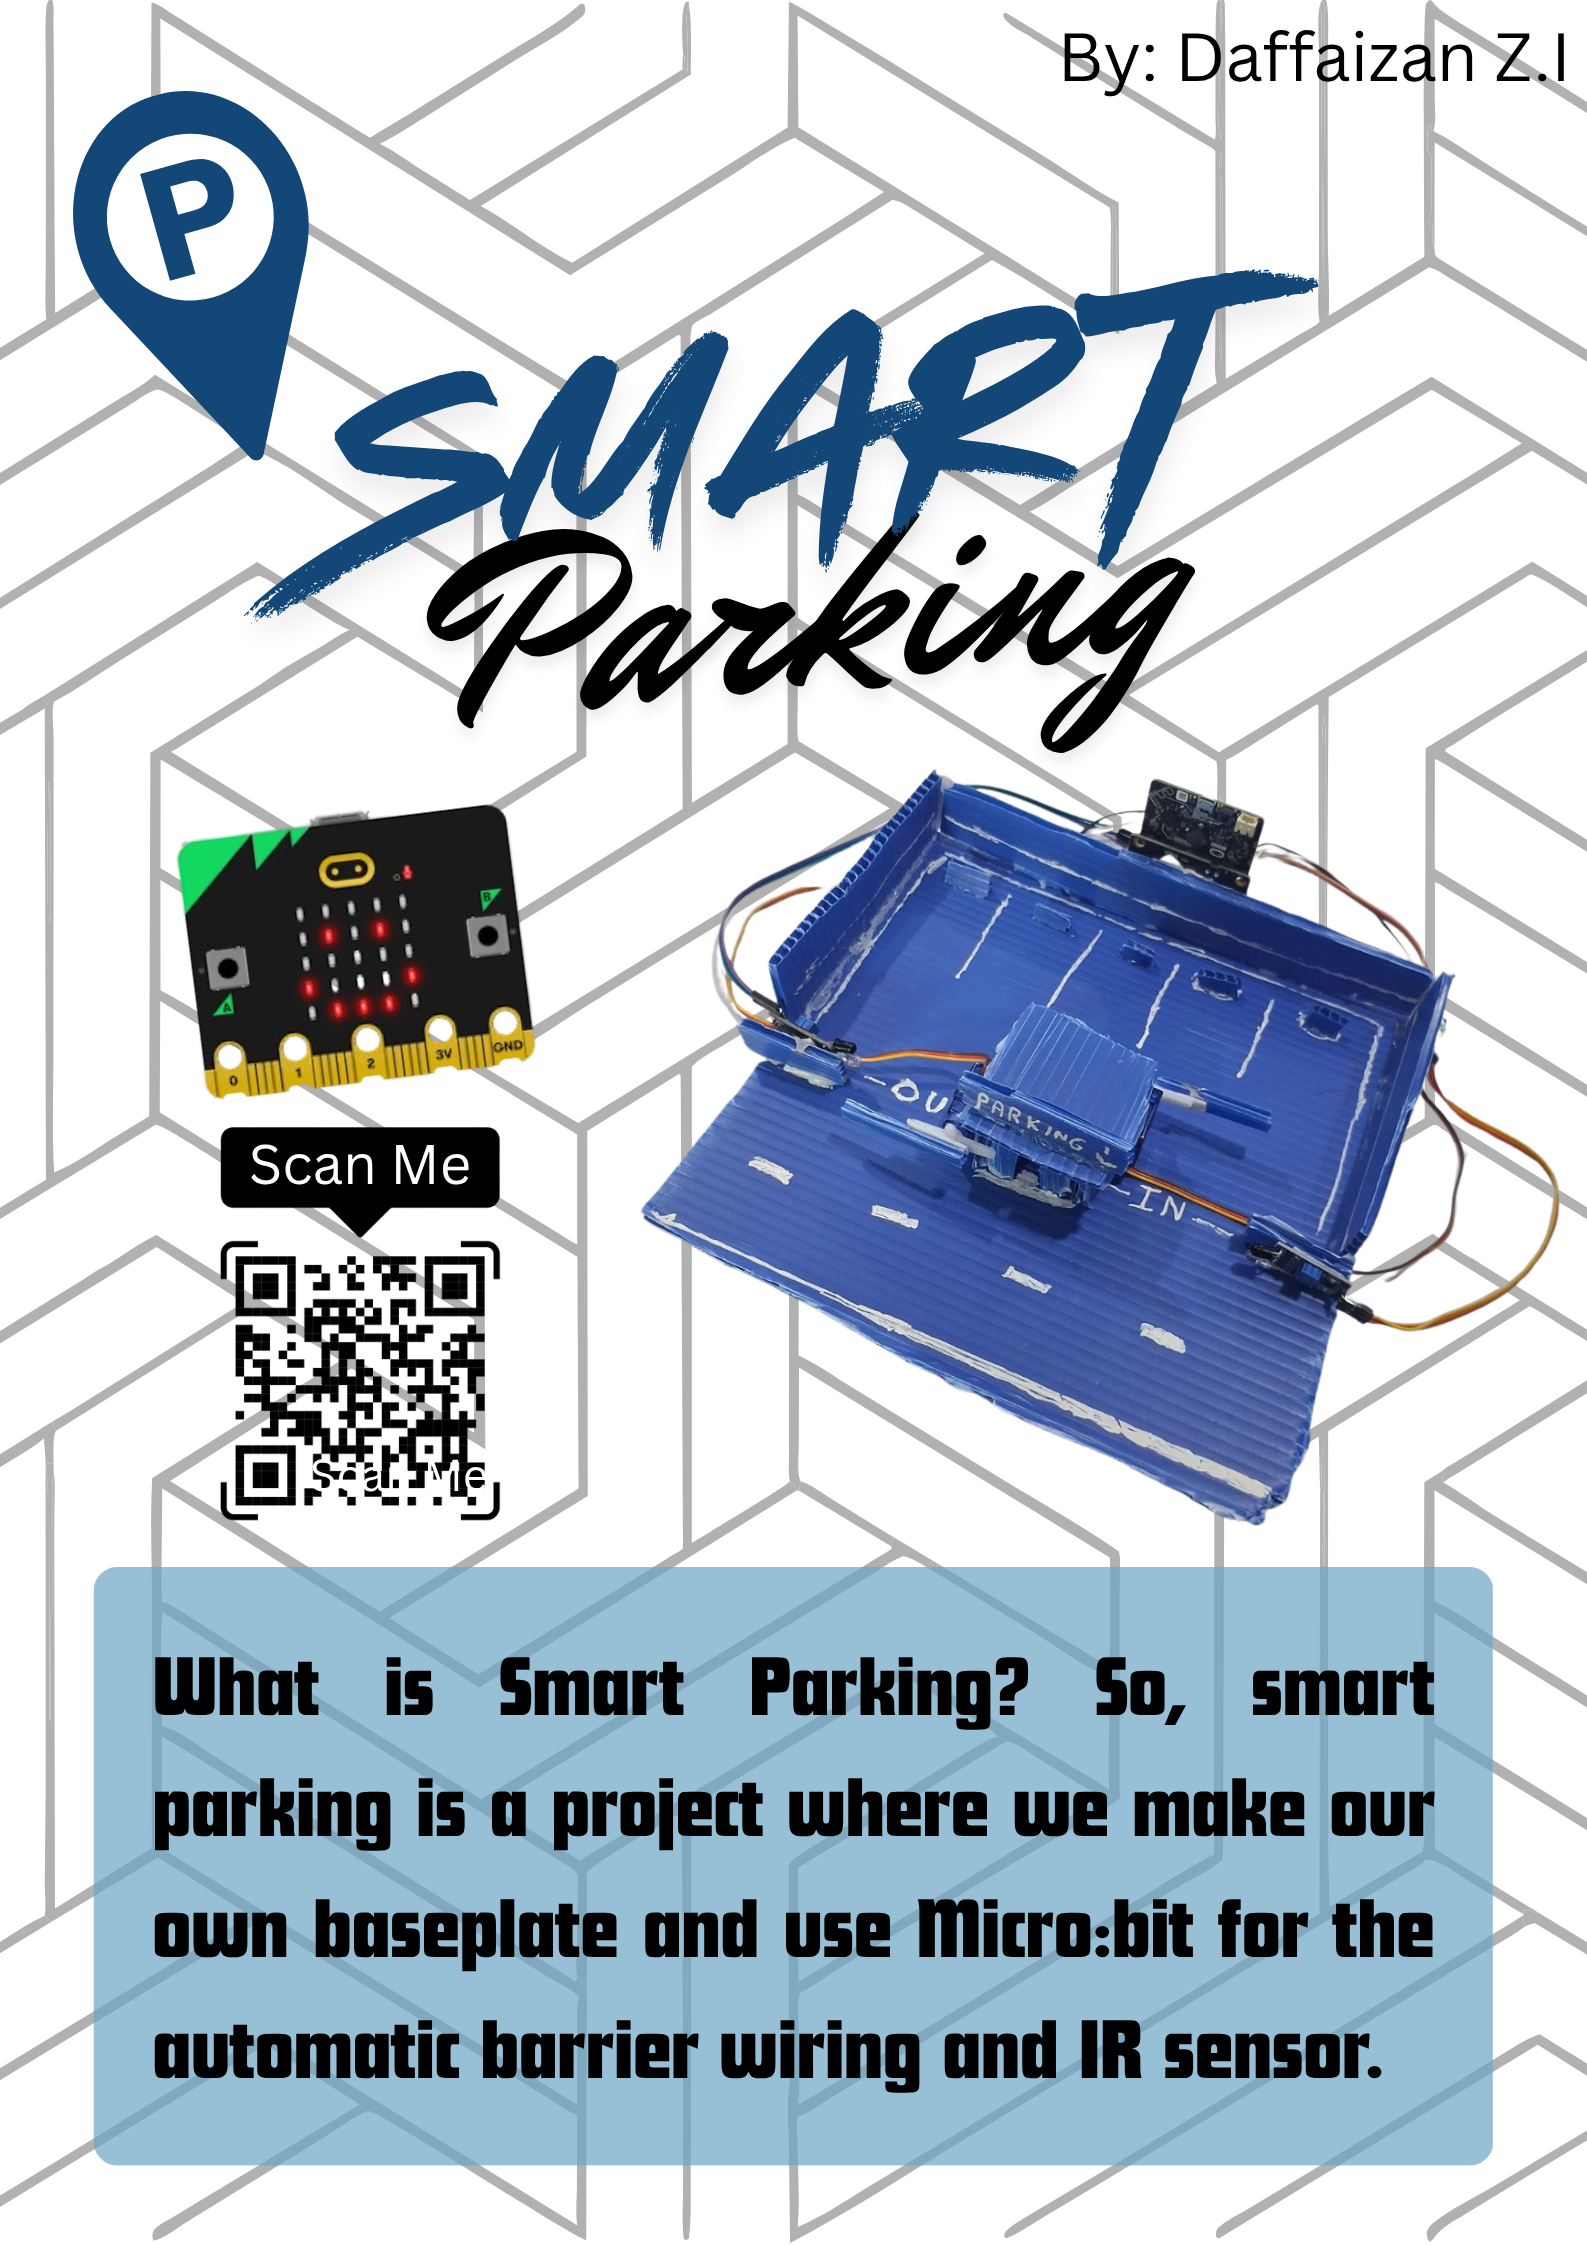
What is Smart Parking, so smart parking is a project where we make our own baseplate and use Micro:bit for wiring the automatic barrier and the IR sensor. The steps are first you have to prepare the IR sensor, servo, Micro:bit, IO:bit, etc. Second you can start making the baseplate and put all the sensors in place. Third you can start the coding program, fourth you can make the automatic barrier and make the parking lot as attractive as possible, fifth you can tidy up the cables and good luck trying it

Categories
Project IT

Smart Watering Plant

Smart Watering Plant

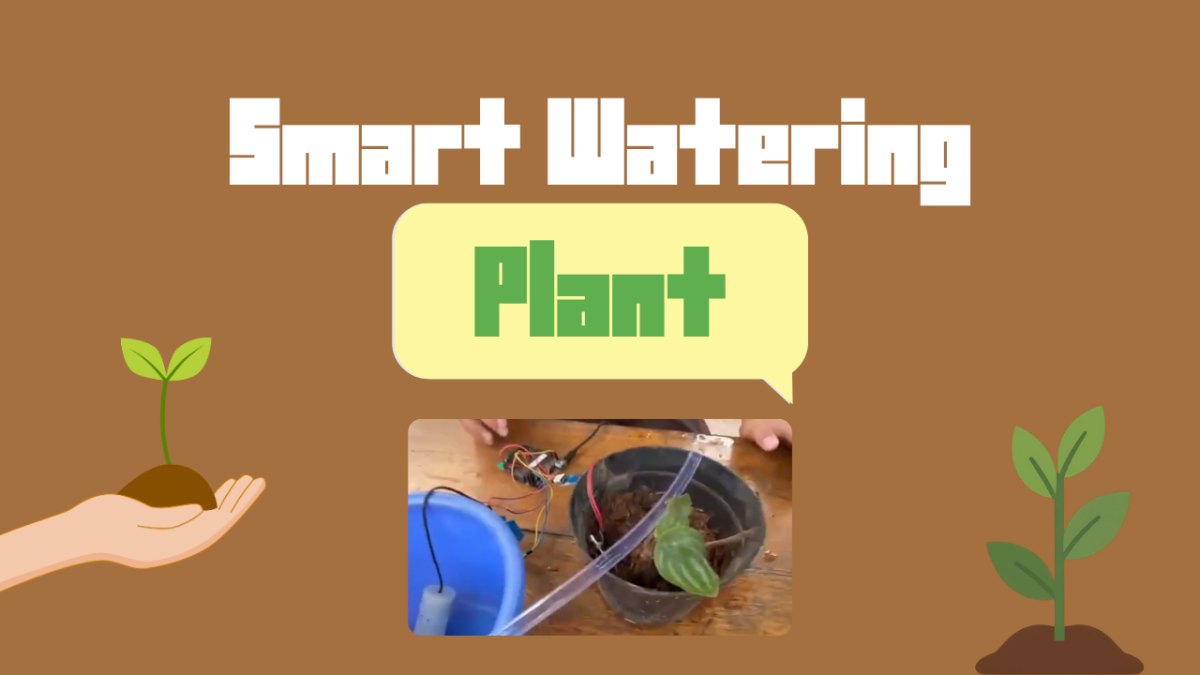
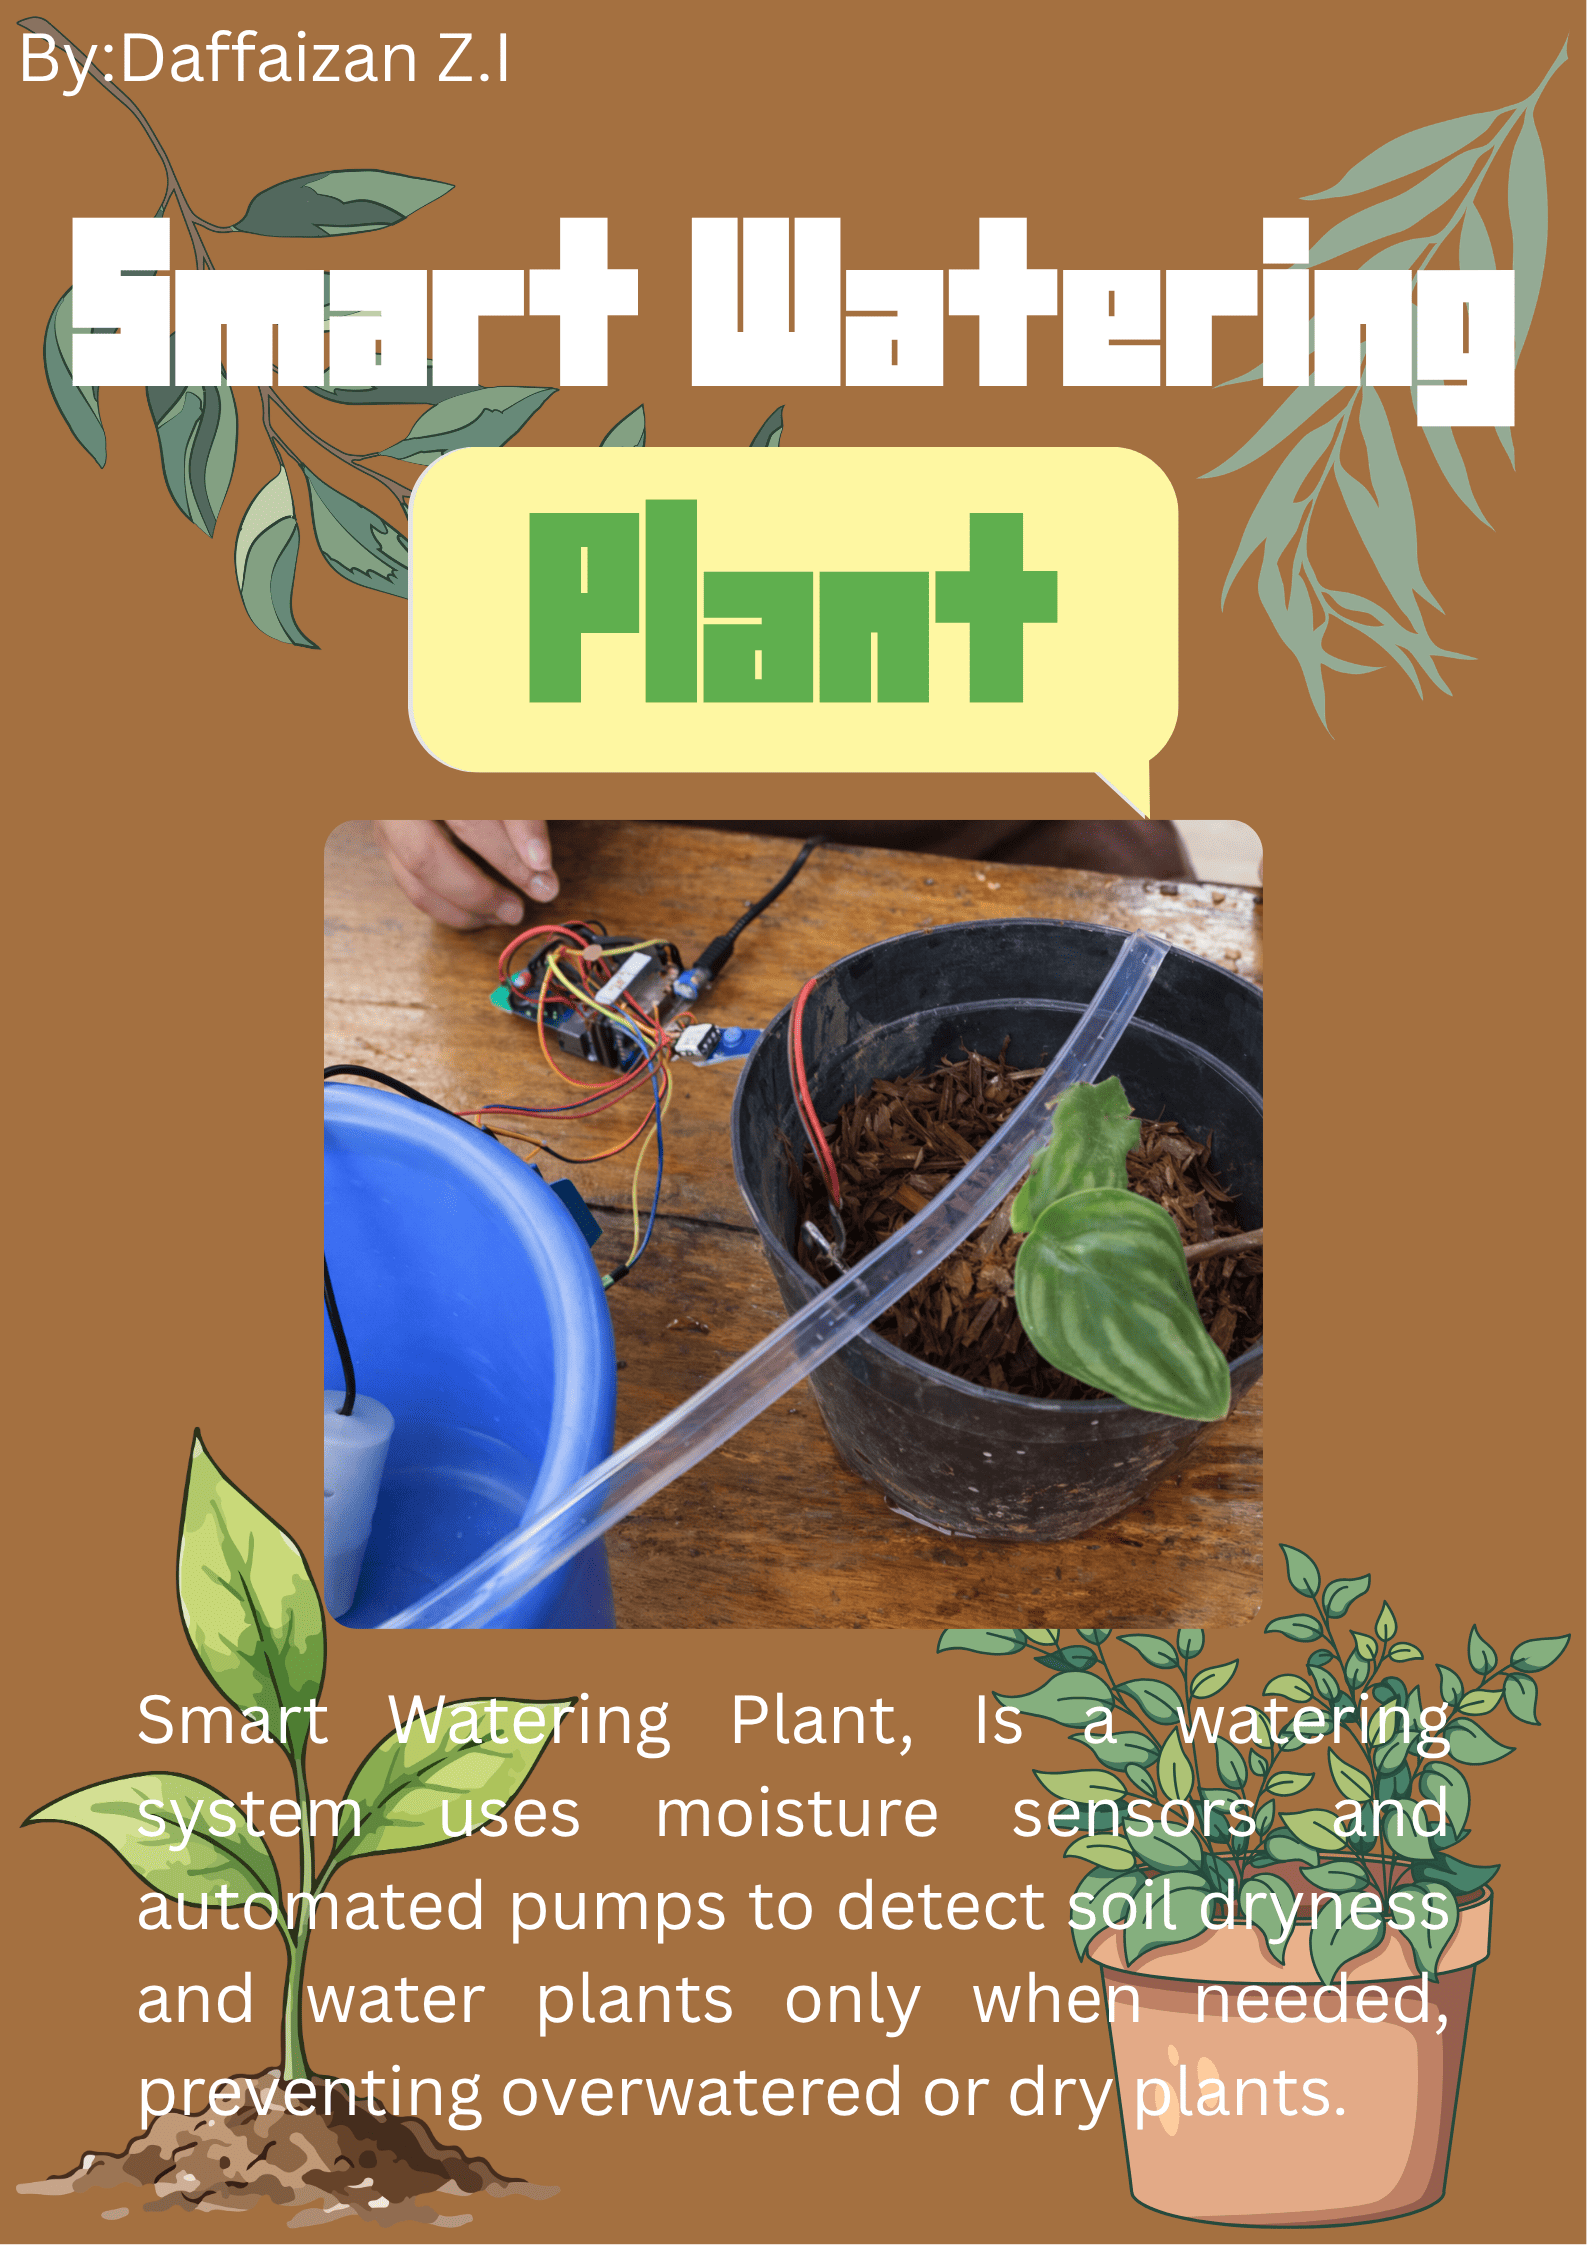
Smart Watering Plant, Is a watering system uses moisture sensors and automated pumps to detect soil dryness and water plants only when needed, preventing overwatered or dry plants. We uses a few components like Soil moisture, DC Pump, Micro:Bit, IO bit, And also relay. We made this project with a team. And also, To code the Micro:Bit, You will need to search Makecode In your browser. The Micro:Bit Needs to be connected with the IObit, Becouse The Other components needs to have 5v or 6v to power up the sensors. Mean while the Micro:Bit only contains 3v. You also need to connect the cables to the other components, Goodluck!

Categories
Project English Project IT

IT – Presentation

IT Presentation - Tiny:bit Bluetooth Controller

This Video Telling About "Tiny:bit Bluetooth Controller", minimum make this video Just 4-5 Minutes, so in the video I explain about my project, I explain what micro:bit is, what application I use until how I make the Tiny:bit robot run using a controller from an application called Cradboard Lofi Robot. So the steps are first make sure the Tiny:bit can run smoothly second you can start coding it third you have to connect the bluetooth to the controller application and good luck trying it

Categories
Project IT

IT Tutorial (2)

IT Tutorial (2)

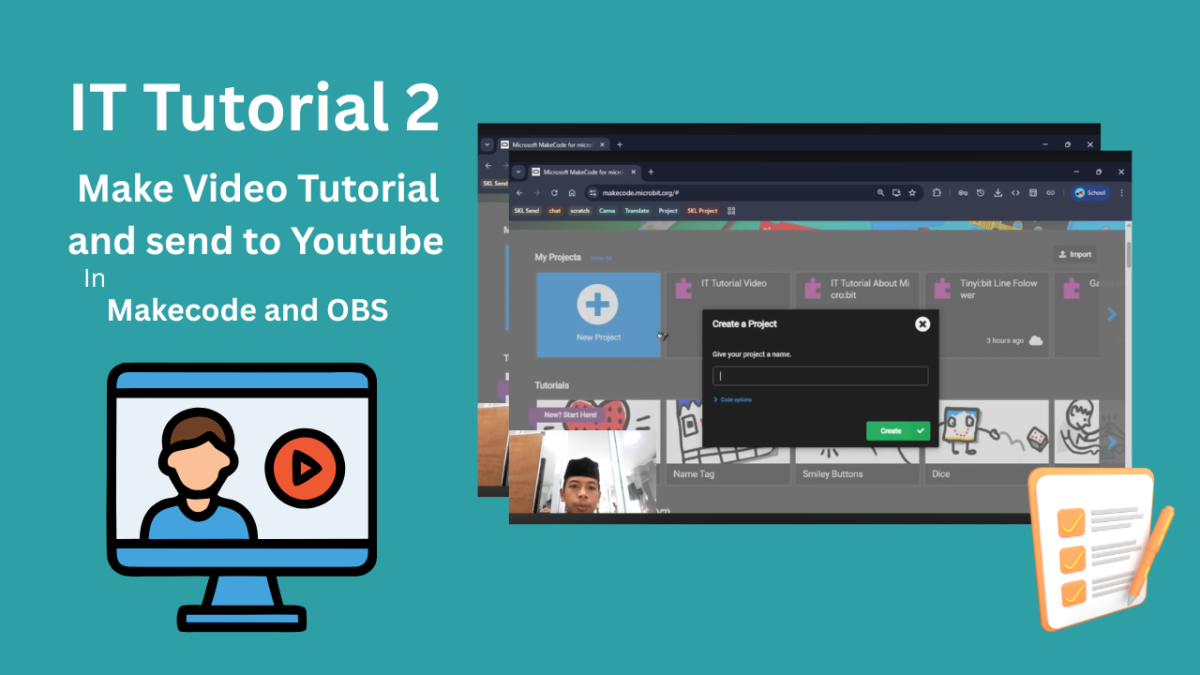
This is a video about Makecode and Micro:bit. I made it just by looking at the Makecode website and memorizing the code and making an IT Tutorial demo. The minimum time for this video is 10 minutes, but I repeated it up to 2 times, so it has to be repeated continuously. I made two codes, namely sun flower and sun, so I made them blink, it was fun, but the most fun thing is that we plug it into IO bit, for example, and then we make projects like smart trash bin and others. The most fun thing is that we make programs on tiny:bit

Categories
Project IT

Tiny:bit Line Follower

Tiny:bit Line Follower

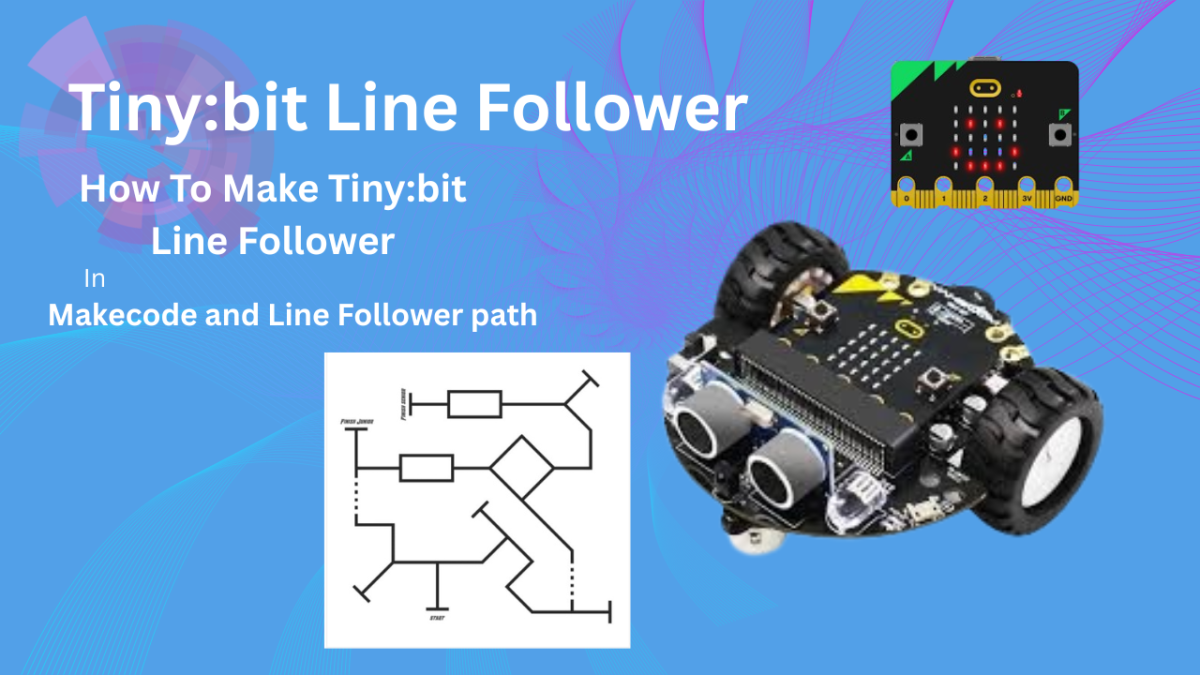
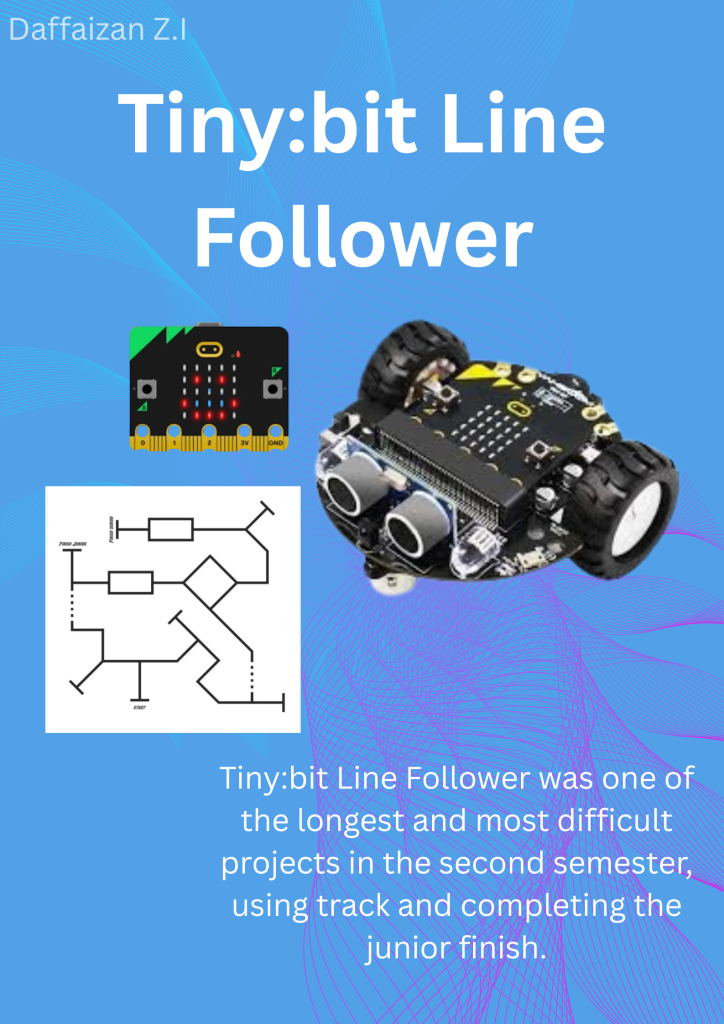
Tiny:bit Line Follower is a robot that walks following a black line and does not leave the black line in the program accurately using a timer using code up to 8 times repeated and must be straight from the start line to the finish line. The junior code has something called a function so its function is the same as broadcast, the difference is that it is in the makcode, so every time you change lines you have to use a variable, for example from 0 then send the variable 1 to 8 times.

Categories
Project IT

Smart Trash Bin

Smart Trash Bin

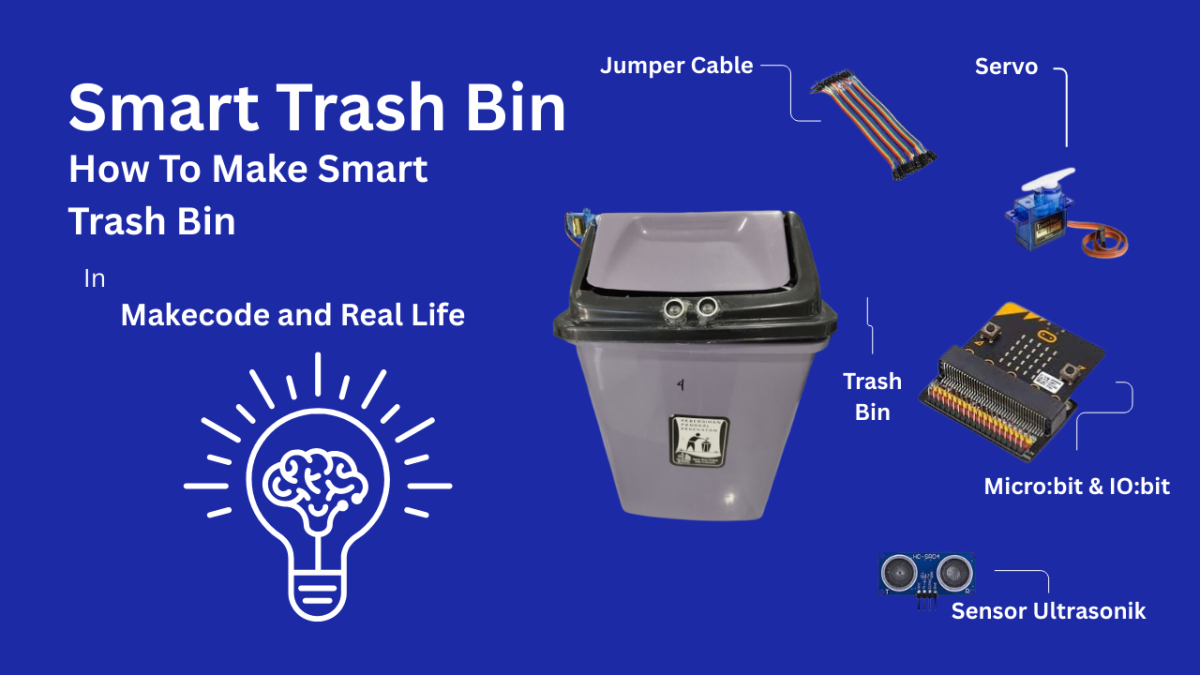
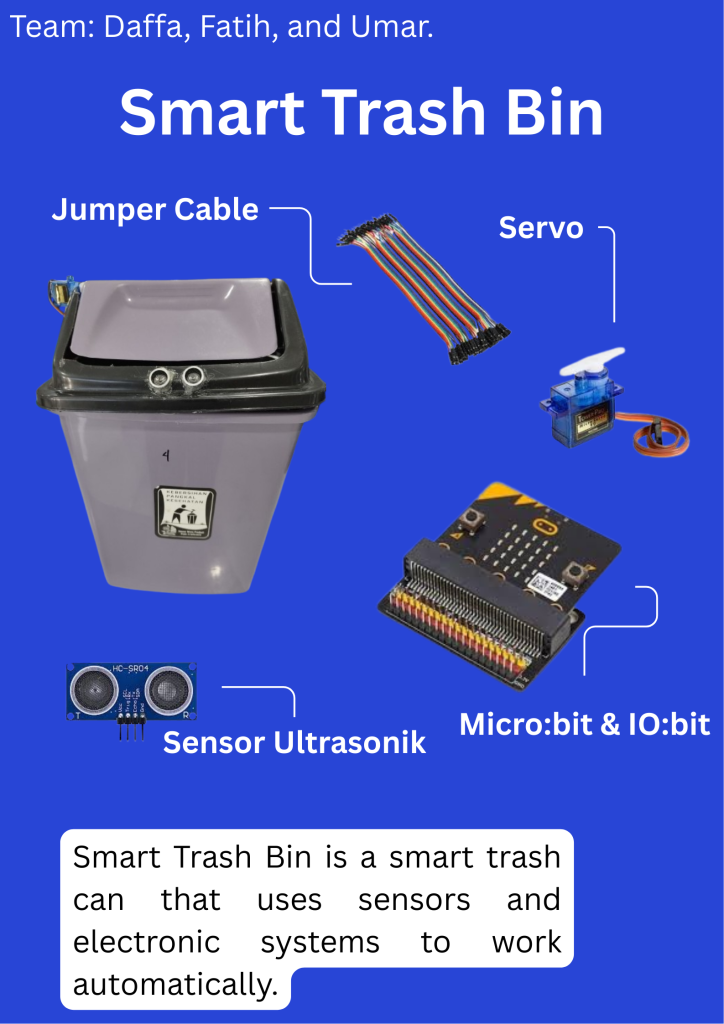
This is the Smart Trash Bin Project, so Smart Trash Bin is a trash can equipped with several machines, such as Servo, IO:bit, Micro:bit, Cable Jumper, and others. and the installation must be correct if it is wrong the machine will not move. Well, Lita programmed the coding on Makecode and you can watch my YouTube, there I explain everything starting from how it works, the tools needed, and the explanation of the code block.