This video is an IT tutorial about Figma, a design tool used to create various digital designs such as posters, presentations, websites, and user interfaces. In this tutorial, I explain the basic features and tools in Figma and show how to use them step by step. This video is made to help beginners understand Figma and learn how to create simple and creative designs.
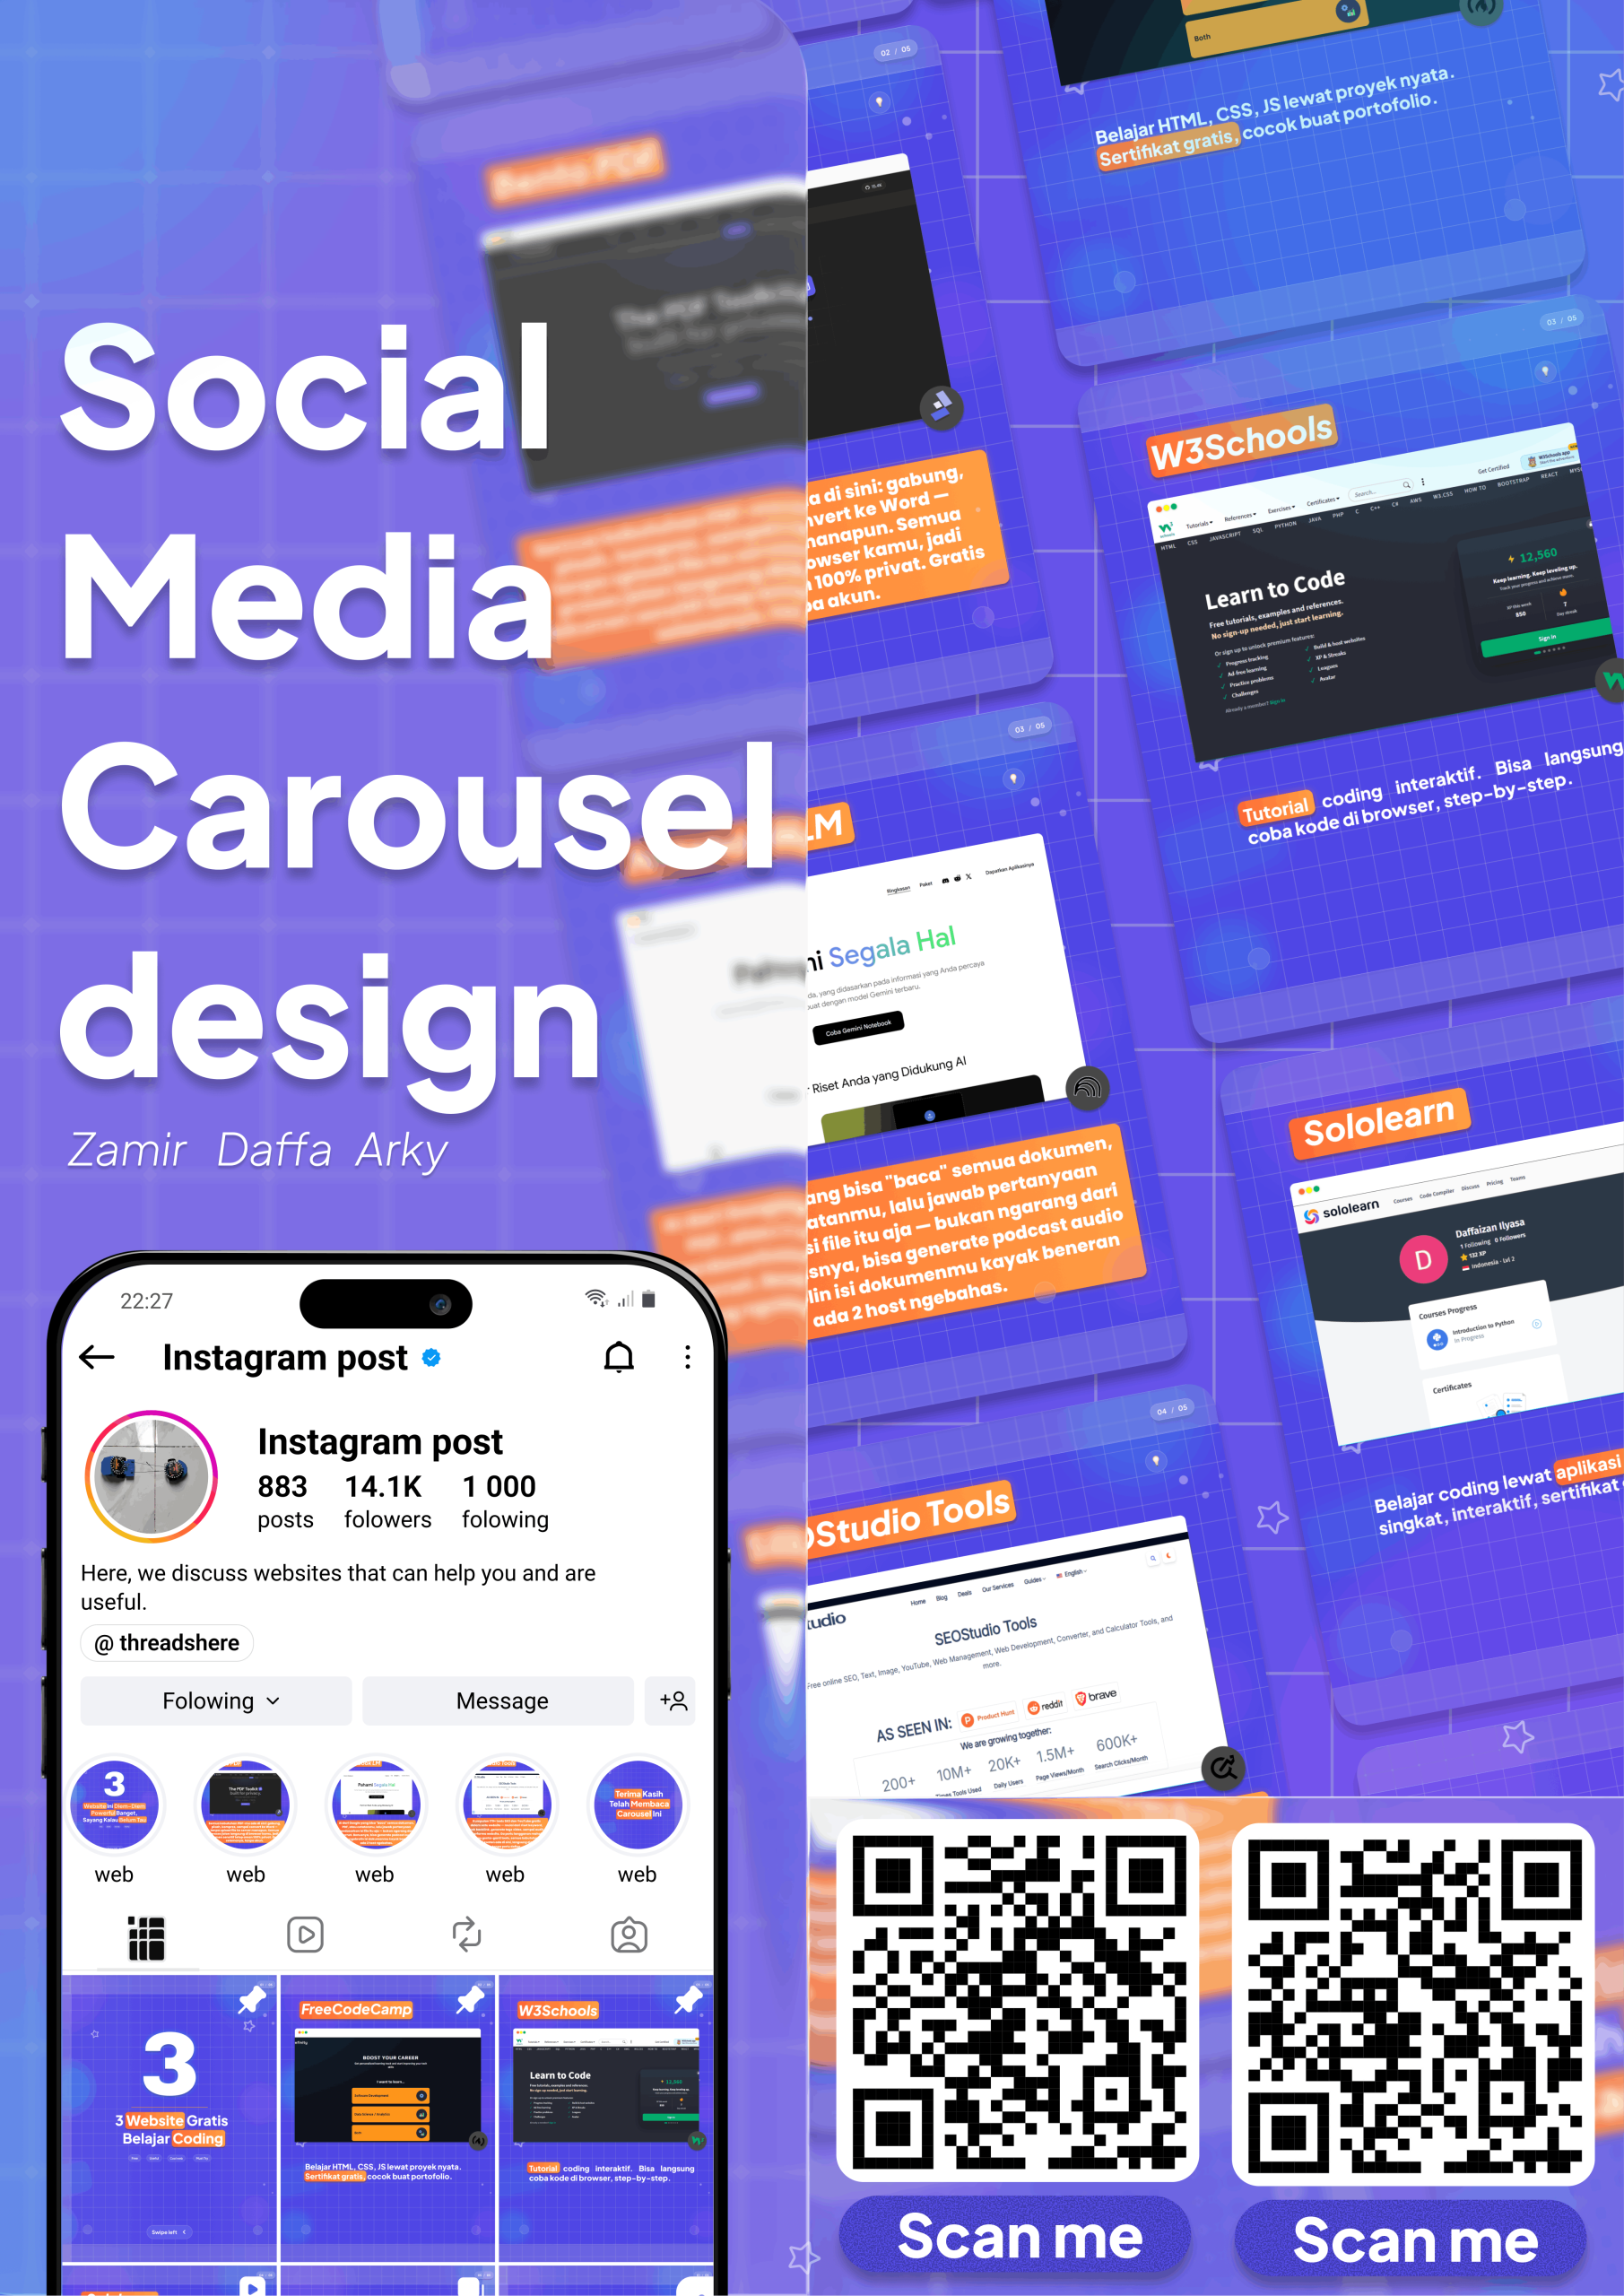
I made this carousel project using Figma. I used Figma to create the carousel design from the beginning, starting with setting the canvas size, creating the layout, and arranging the text and images to make the design look neat and attractive. Figma also helped me keep the design consistent on every slide.
For this project, I used several tools in Figma, such as the Frame Tool to create the size of each slide, the Text Tool to add text, the Shape Tool to create different shapes, and the Pen Tool to create additional elements. I also used Auto Layout and Align to make the elements more organized and neat.
I think making this carousel was quite easy, but some parts needed more attention. The most challenging parts were arranging the layout, choosing the right text size, setting the spacing between elements, and making sure every slide had a consistent design. After learning the basic tools in Figma, the process became easier and more enjoyable.
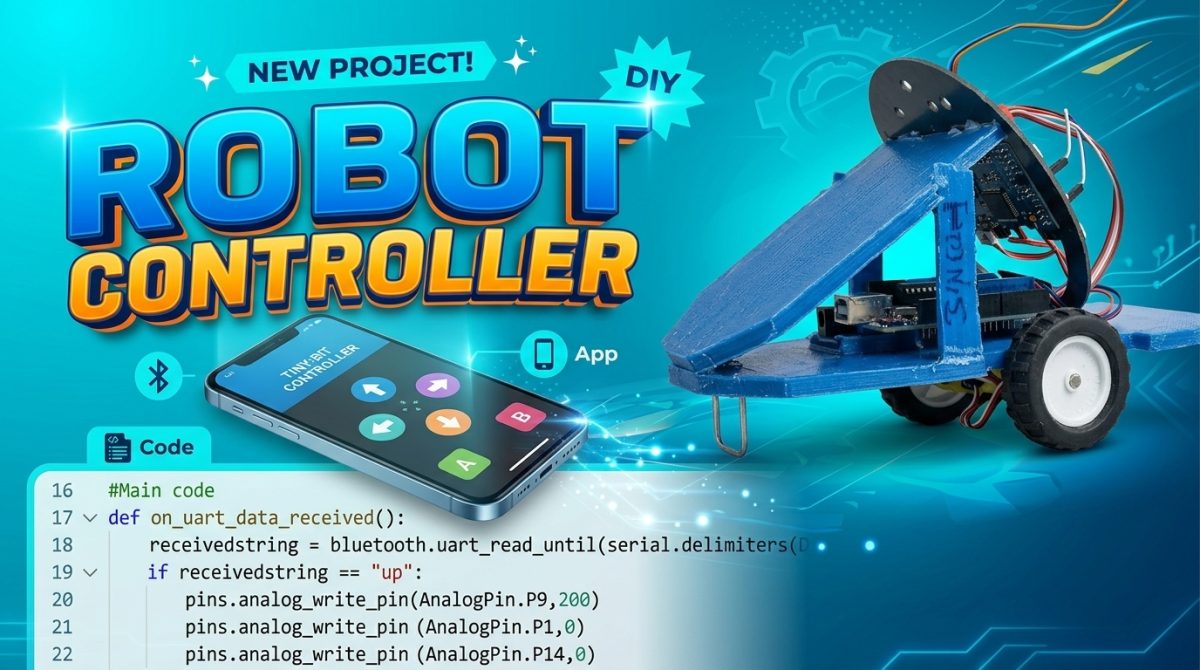
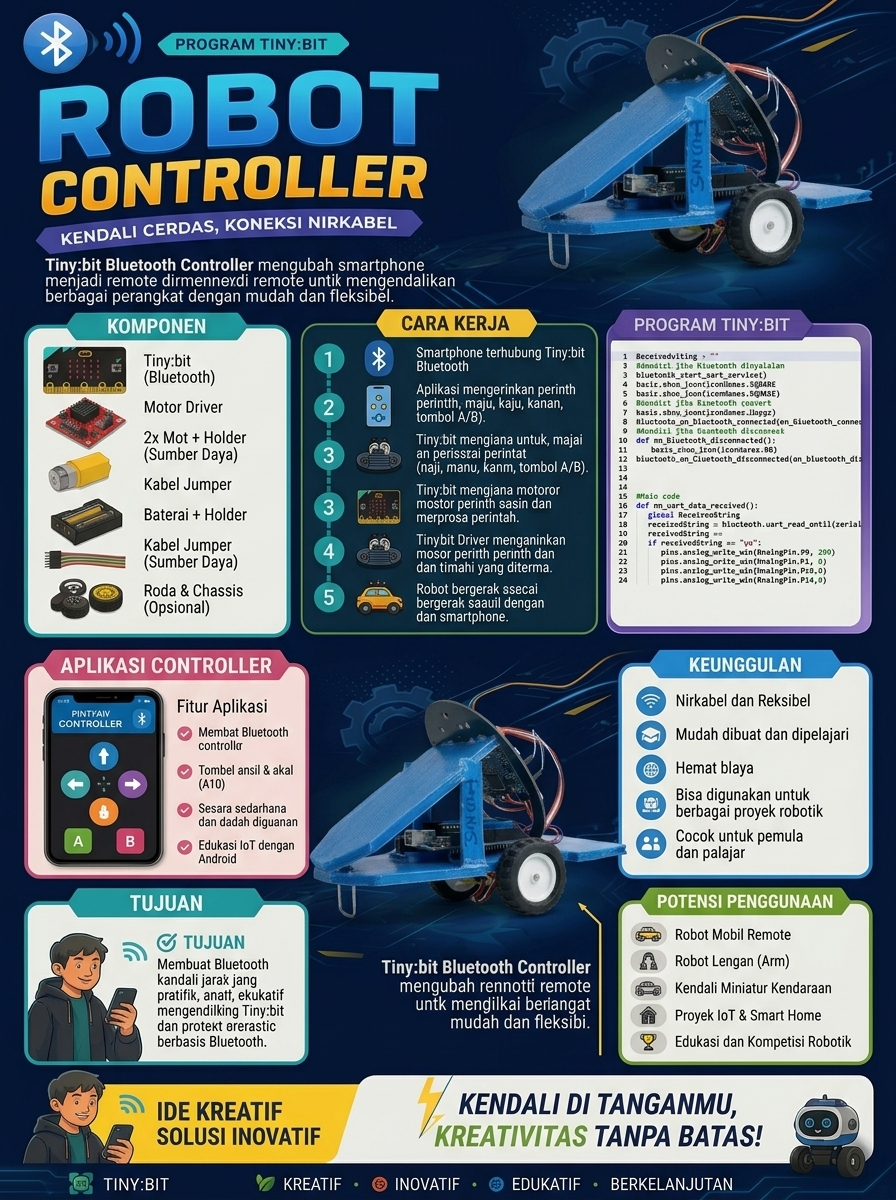
This video features a group of students introducing and explaining a simple robotics project. At the beginning, the main subject—a small, vehicle-shaped robot—is shown. Several students then appear together to discuss the project, with one student explaining the details while showcasing the robot and its components.Next, the video provides a closer look at the robot, highlighting its wheels, chassis, wiring, and internal electronic components. A laptop is also shown, displaying the robot’s circuitry or electronic system; the students explain how the components interconnect and function to operate the robot.Towards the end, the students once again display the robot in person while elaborating on the project they created. The video concludes with the three students appearing together. Overall, the video documents and presents the student-made robotics project, focusing on the robot’s design, electronic components, circuitry, and operational mechanics.
In creating this poster, I used Affinity Designer as the main software. Affinity provides a flexible workspace with different personas that allow me to combine vector design, pixel editing, and layout adjustments in one project. This made it easier to manage the creative process from start to finish without switching between multiple applications.To design the poster, I applied several tools inside Affinity. I used the Shape Tool to build the basic layout, the Fill Tool to add gradients and color transitions, and the Text Tool to place the main title and supporting text. Additionally, I experimented with the Transparency Tool to create smooth blending effects and the FX Panel to add shadows and highlights that made the design more dynamic.Overall, the process of making this poster was not too difficult, but it required patience and attention to detail. Learning how each tool works took some practice, especially when combining gradients and effects. However, once I understood the functions, the workflow became enjoyable and gave me a sense of accomplishment. Using Affinity Designer made the task manageable and rewarding.
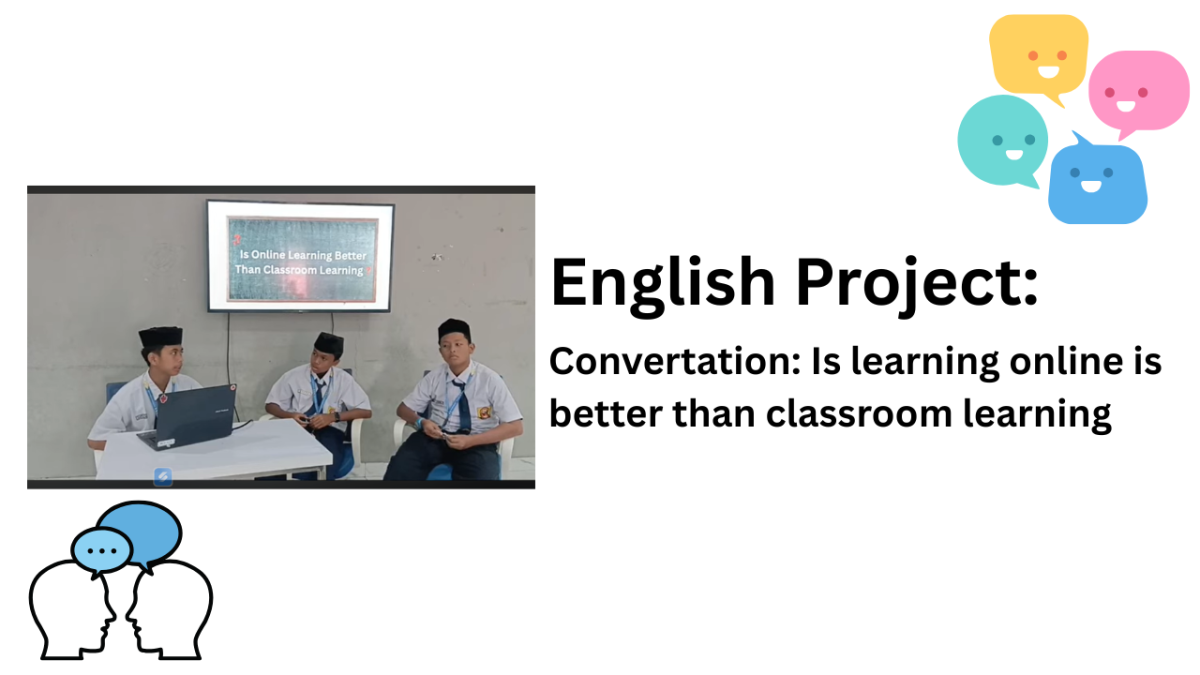
This Video about my first project in IDN, that is convertation. The topic is "Is learning online is better than classroom learning". I took the video around 5 minute. It was supposed to be just the two of us—Khalifa and me—but since Arky didn't have a team, my teacher told him to join ours. In this video, I’m just the host asking Khalifa and Arky questions for them to answer. The project itself is easy, but the actual execution took a while.
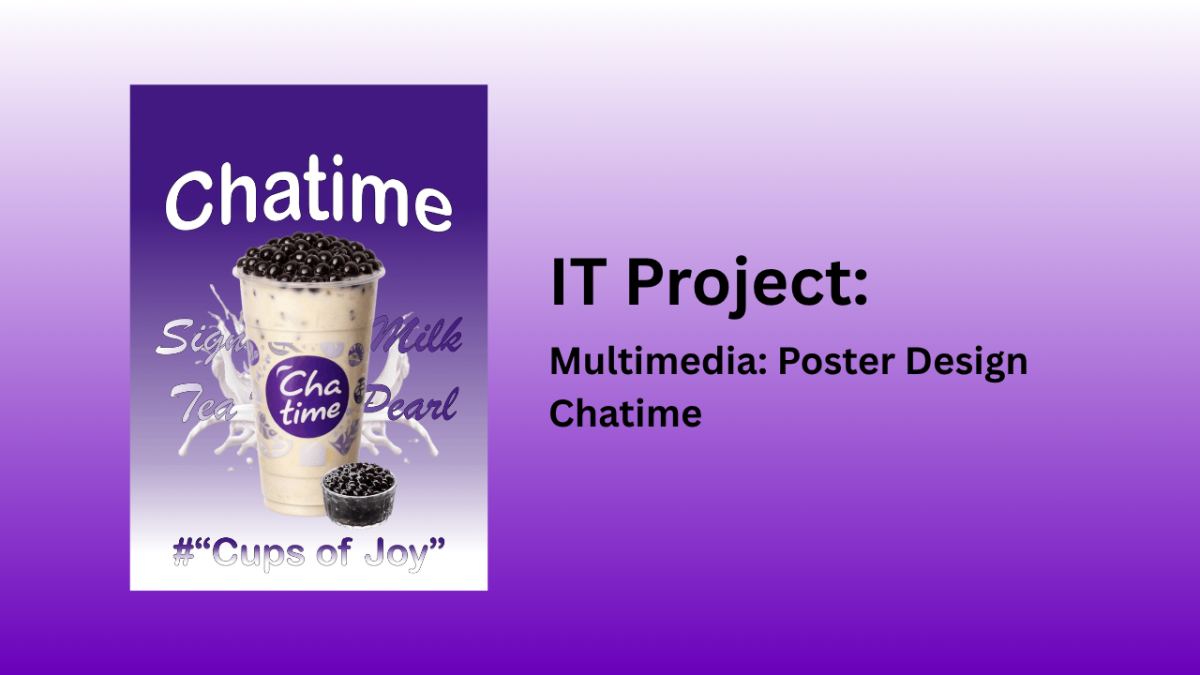
I created this poster using Affinity Designer, which provided a flexible workspace for combining images, text, and gradients. The background was built with a gradient fill tool to achieve the smooth transition from dark purple to light purple, reflecting Chatime’s signature brand colors. The main focus of the design is the large cup of milk tea with pearls, accompanied by a smaller container of tapioca pearls, both arranged to highlight the product visually.
To achieve the dynamic look, I used several tools in Affinity. The Fill Tool was applied to create the gradient background, while the Pen Tool and Shape Tool helped in adjusting layout elements and decorative splashes. The Text Tool was used to insert the Chatime logo, product name, and tagline “Cups of Joy.” Additionally, the Layer Effects panel allowed me to add subtle shadows and highlights, giving depth to the cup and pearls.
The overall impression of making this poster was very enjoyable. It felt creative and rewarding to see how simple elements like gradients, splashes, and bold typography could come together into a vibrant promotional design. The process gave me a sense of satisfaction, especially when the purple tones and milk splash effects blended harmoniously with the product image. It truly captured the lively and joyful spirit that Chatime wants to convey through its branding.
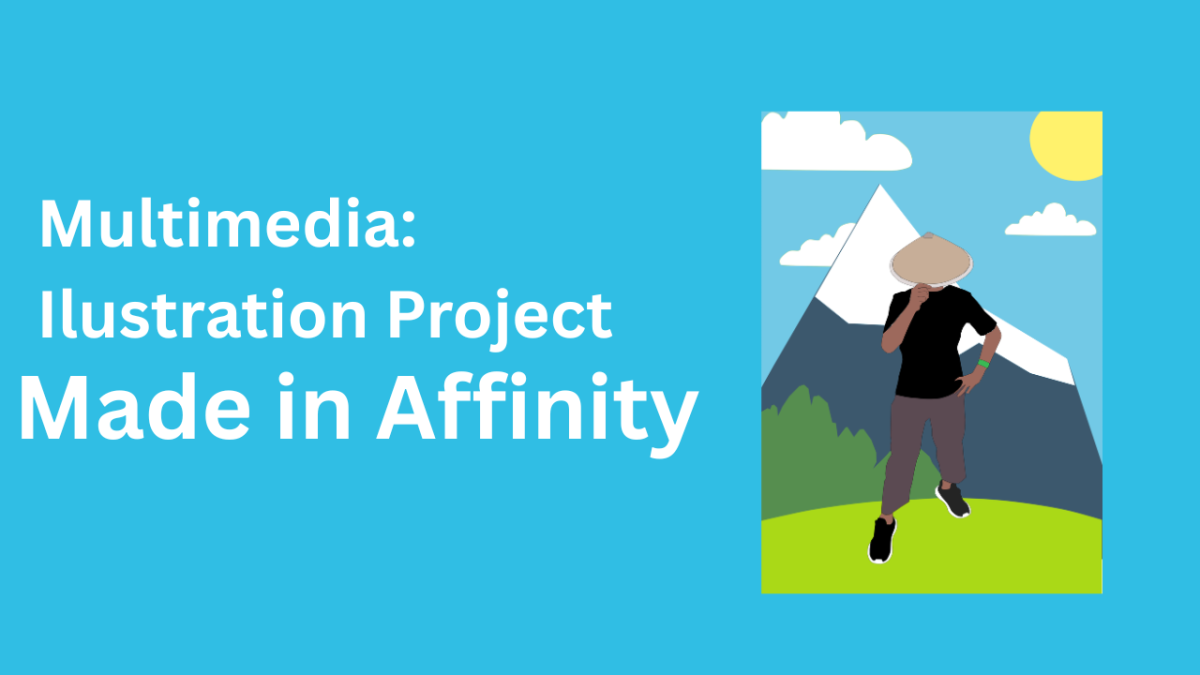
This illustration was created using Affinity Designer, a vector-based graphic design application. The creation process involved tracing a reference photo with the Pen Tool, followed by coloring each element—such as the figures, mountains, clouds, sun, and trees—according to the desired concept, resulting in a polished, high-quality illustration.
This illustration employs a balanced composition, with the main figure positioned in the center as the focal point. The background—featuring mountains, clouds, the sun, and trees—creates a sense of depth, while the blend of bright colors generates a contrast that makes the illustration more visually appealing.
Creating this illustration involves a moderate level of difficulty, as it requires precision in shaping, coloring, and arranging each element to ensure a proportional and harmonious look. With an understanding of the fundamentals of Affinity Designer, one can produce high-quality illustrations of this kind.